Understanding the Fixed Frame Projection Screen
What is a Fixed Frame Projection Screen?
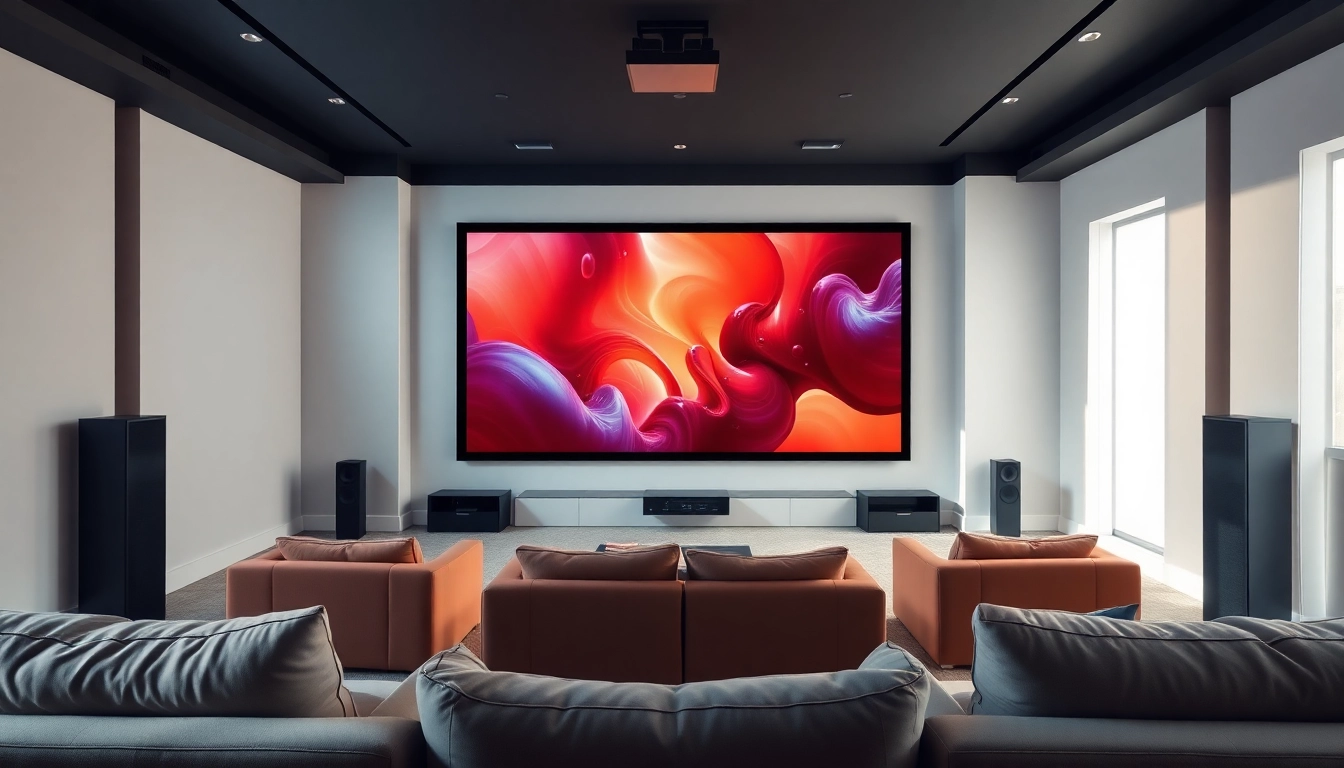
A Fixed Frame Projection Screen is a specially designed projection surface that is permanently mounted in a frame, offering a crisp, stable, and perfectly flat image display. These screens are typically used in home theaters, conference rooms, and classrooms, providing a seamless visual experience without the wrinkling or bending that can occur with portable or retractable screens. The screen’s frame is generally made of lightweight materials such as aluminum and is often covered with fabric that enhances the image quality by providing optimum reflectivity and color reproduction.
Benefits of Using a Fixed Frame Projection Screen
Investing in a Fixed Frame Projection Screen entails numerous advantages:
- Optimal Image Quality: The tensioned fabric provides a perfectly flat viewing surface which translates to sharper images, better contrast, and more vivid colors.
- Durability: Being permanently mounted, these screens minimize wear and tear common with portable screens, offering a longer lifespan.
- Aesthetic Appeal: The clean lines of a fixed frame combined with various fabric choices can enhance your room’s design, making it a stylish addition.
- Easier Setup: Unlike portable screens that require assembly and disassembly, fixed frame screens are ready for viewing in seconds.
Common Features to Look For
When selecting a Fixed Frame Projection Screen, consider the following features:
- Screen Material: Options may include matte white, grey, and high-gain fabrics catering to different viewing environments.
- Aspect Ratio: Common aspect ratios include 16:9 for widescreen and 4:3 for older formats. Choose based on your intended content.
- Frame Thickness: Thinner frames enhance the viewing experience by providing a near-borderless picture image.
- Screen Size: Screens are available in various sizes ranging from 72 inches to over 150 inches diagonally, catering to different room sizes.
- Installation Type: Wall-mounted options provide a seamless look, while some screens can be ceiling-mounted for versatility.
Types of Fixed Frame Projection Screens
Material Choices for Fixed Frame Projection Screens
The performance of your Fixed Frame Projection Screen heavily relies on the screen material. Here are some popular choices:
- White Matte: A standard option for general use, providing a balance of contrast and brightness.
- Grey Screens: Ideal for rooms with ambient light, grey screens can enhance black levels and improve contrast.
- Acoustically Transparent: These screens allow sound to pass through from speakers behind the screen without distortion.
- High-Gain Materials: Designed to reflect more light towards the audience, these materials are useful in brighter rooms.
Different Sizes Available for Fixed Frame Projection Screens
Fixed Frame Projection Screens come in a myriad of sizes, allowing you to choose the perfect fit for your space:
- Small Screens (under 100 inches): Best suited for smaller rooms or personal setups.
- Medium Screens (100-120 inches): Perfect for dedicated home theaters or larger conference rooms.
- Large Screens (over 120 inches): Ideal for cinemas or expansive venues that require a more significant display impact.
Frame Design Options
Frame designs can greatly impact both functionality and aesthetics:
- Standard Frames: These typically feature a straightforward design that is functional and often more budget-friendly.
- Thin Bezel: A contemporary choice with a minimal profile, ensuring viewers remain focused on the image.
- Curved Frames: These can enhance viewing angles, particularly in large setups by minimizing image distortion.
- Velvet-Covered Frames: Often used to absorb stray light and enhance overall picture quality, adding a touch of elegance.
Installation Guide for Fixed Frame Projection Screens
Tools and Materials Needed
Before beginning installation, gather the following tools and materials:
- Level
- Drill
- Measuring Tape
- Screwdriver
- Stud Finder
- Mounting brackets (if included with your screen)
Step-by-Step Installation Process
Follow these steps for a successful installation:
- Select Location: Choose the wall where the screen will be mounted, considering viewing distance, lighting, and aesthetics.
- Measure and Mark: Use a level to mark where the frame will be fixed, ensuring it’s perfectly horizontal.
- Locate Studs: Utilize a stud finder to locate wall studs for a secure mount. Mark these locations.
- Drill Holes: Depending on screen size, pre-drill holes into the marked studs for mounting brackets.
- Attach the Frame: Secure the frame to the wall using the provided hardware, ensuring it is flush and level.
- Attach the Screen Material: Once the frame is mounted, carefully attach the screen material as per the manufacturer’s instructions.
Maintenance Tips for Longevity
Proper maintenance will ensure your Fixed Frame Projection Screen remains in top condition:
- Regular Cleaning: Dust the screen surface gently using a microfiber cloth. Avoid harsh chemicals that could damage the material.
- Avoid Direct Sunlight: If possible, keep your screen out of direct sunlight to prevent color fading over time.
- Check for Warping: Occasionally check the screen material for any signs of warping or creasing and address immediately.
- Screen Replacement: If the material becomes damaged, consider replacement instead of replacing the entire frame.
Optimizing Performance of Your Fixed Frame Projection Screen
Choosing the Right Projector
To maximize your viewing experience, pairing your Fixed Frame Projection Screen with the right projector is essential. Consider the following:
- Projector Brightness: Ensure the projector’s brightness (measured in lumens) aligns with the screen type and ambient light levels in your room.
- Resolution: Select a projector with a resolution that matches or exceeds the screen’s capability to prevent pixelation.
- Lens Type: Utilize the correct lens type (standard, short-throw, etc.) based on the distance between the projector and screen location.
Adjusting Screen Position for Best Viewing
The placement of your Fixed Frame Projection Screen can affect viewer experience:
- Height Position: Ideally, the center of the screen should be at eye level when seated.
- Angle: Direct the screen toward the seating area to minimize glare and maximize brightness.
- Distance: Maintain a suitable viewing distance based on the screen size for optimal viewer comfort.
Lighting Considerations for Optimal Viewing
Lighting plays a crucial role in screen performance:
- Light Control: Implement blackout curtains or shades to manage ambient light during viewing.
- Screen Material Impact: Choose screen material designed for your lighting conditions; for brighter rooms, a grey screen can provide better contrast.
- Lighting Fixtures: Avoid placing lights behind or above the screen to minimize reflections and enhance picture quality.
Comparing Fixed Frame Projection Screens with Other Types
Fixed Frame vs. Retractable Screens
When considering projection screens, it’s essential to weigh the pros and cons of Fixed Frame versus retractable options:
- Fixed Frame Screens: They are always visible, providing optimized viewing but can take up wall space consistently.
- Retractable Screens: These can be rolled up when not in use, saving space, but may not provide the same level of image quality.
Pros and Cons of Fixed Frame Projection Screens
Every option comes with its advantages and drawbacks:
- Pros:
- Superior image quality due to a flat surface.
- Durable and long-lasting installation.
- Aesthetic enhancements to a space.
- Cons:
- More permanent than retractable alternatives.
- Requires proper installation for optimal performance.
When to Choose a Fixed Frame Projection Screen
Select a Fixed Frame Projection Screen when:
- You have a dedicated home theater where aesthetics and image quality are paramount.
- Your environment allows for a permanent installation.
- You prioritize consistent high-quality media consumption over occasional portability.